

How To Repair Cracked 1994 F150 Dashboard
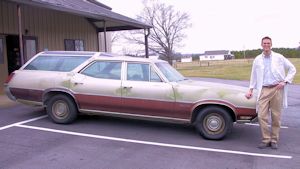
When restoring older cars, it is often too expensive to supervene upon a cracked dashboard. And, that is assuming a new nuance board is available. In cases where new parts are as well expensive, too difficult to find, or impossible to discover, you will need to restore what is already in that location. The padded dashboard on this 1971 Oldsmobile Vista Cruiser is a good example.
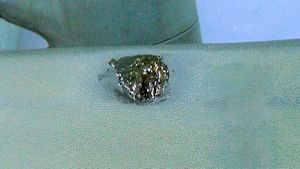
Step i
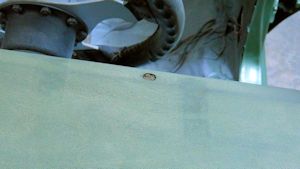
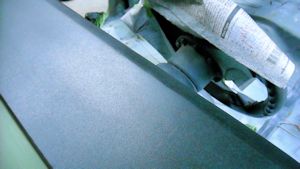
Every bit yous can see, this dashboard has a hole that needs to be repaired. Most onetime cars and some new cars accept dashboards made from vinyl over urethane foam. Over time in the sun, the vinyl gets breakable and the dash board gets cracks. Many newer dashboard don't have whatever foam at all. Instead, they are made from injection molded TPO or ABS. But, these dashboards can as well get cracked or get holes from exposure to the sun.
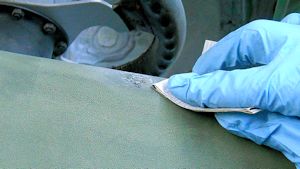
Step two
Use 80 grit or 180 grit sandpaper to bevel into the impairment. Make sure that you sand out any dried-out and crusty foam, too.
Step 3
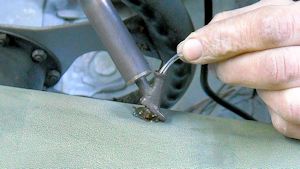
Cook some of the polyurethane welding rod into the void that was created when you sanded out the crusty, dried out cream. The urethane rod is very flexible and closely simulates the urethane foam. Turn the temperature all of the style upward and the melted rod come out bubbly. Some of the bubbles remain encapsulated within the polyurethane and simulates the foam even more. Overfill the pigsty slighly. You will be sanding it down and it is ameliorate to overfill slightly than having to find out that you need to melt more polyurethane rod into the hole after yous take sanded it. IMPORTANT NOTE:If yous have one of the newer dashboards that don't take any foam, you may skip this pace.
Stride four
This is what it looks similar subsequently filling the hole.
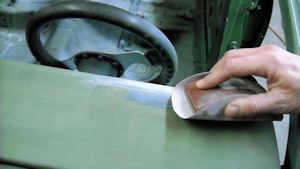
Stride 5
Apply 80 grit sandpaper to sand the urethane level with the surrounding area. The urethane is very stretchy and elastic and then, if you utilize actually short strokes when yous sand, it may merely stretch back and forth rather than getting footing abroad. A expert way to preclude the back-and-forth stretching is to put your thumb on top of the sandpaper over the area that you need to sand. Then, pull the sandpaper while maintaining downward pressure with your pollex over the urethane.
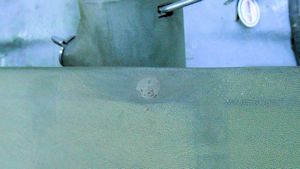
Footstep vi
This is what the damaged surface area looks like after the urethane welding rod was sanded downwardly.
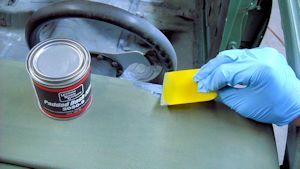
Step vii
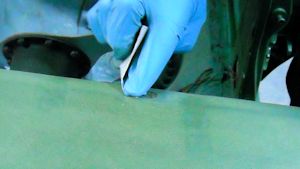
Mix some Padded Dash Filler with the foam hardener co-ordinate to the instructions. Employ a spreader to apply the Padded Nuance Filler to the damaged area.
Step 8
Permit time for the Padded Dash Filler to cure. Sand it smooth starting with 180 dust sandpaper and then 320 grit sand newspaper.
Step 9
This is how it looks after sanding polish the Padded Dash Filler.
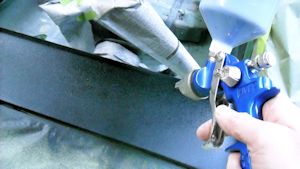
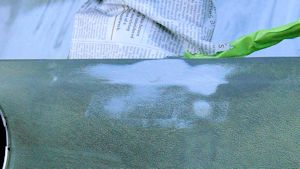
Stride 10
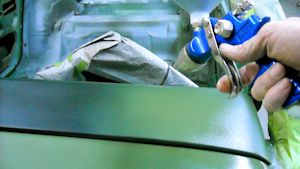
Spray on Flextex VT. Y'all may want to spray the texture blanket on something else first. You volition get different size texture depending on your spray gun settings and how much you reduce (dilute) the Flextex with lacquer thinner.
Step 11
Sometimes, the Flextex may get fiddling "nibs" on it that can easily be knocked off by lightly scuffing the surface with a scuff pad.
Step 12
This is what information technology looks like. Of course, Flextex is black. If your dashboard is black, you are finished. If not, you are going to need to put a coat of paint over the elevation of the Flextex.
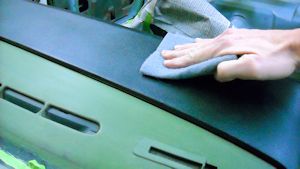
Step 13
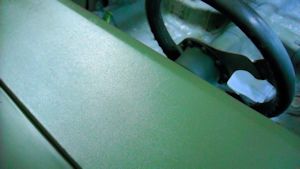
A topcoat was applied to match the original color.
Footstep xiv
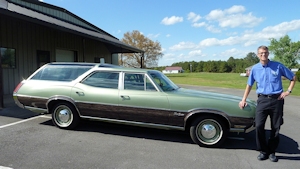
Here is the finished nuance repair and restoration. As you can see, the dashboard looks great. Now, for the rest of the car.
FINISHED!

How To Repair Cracked 1994 F150 Dashboard,
Source: https://www.polyvance.com/Repair-Cracked-Dashboard/
Posted by: riverashmed1979.blogspot.com
0 Response to "How To Repair Cracked 1994 F150 Dashboard"
Post a Comment